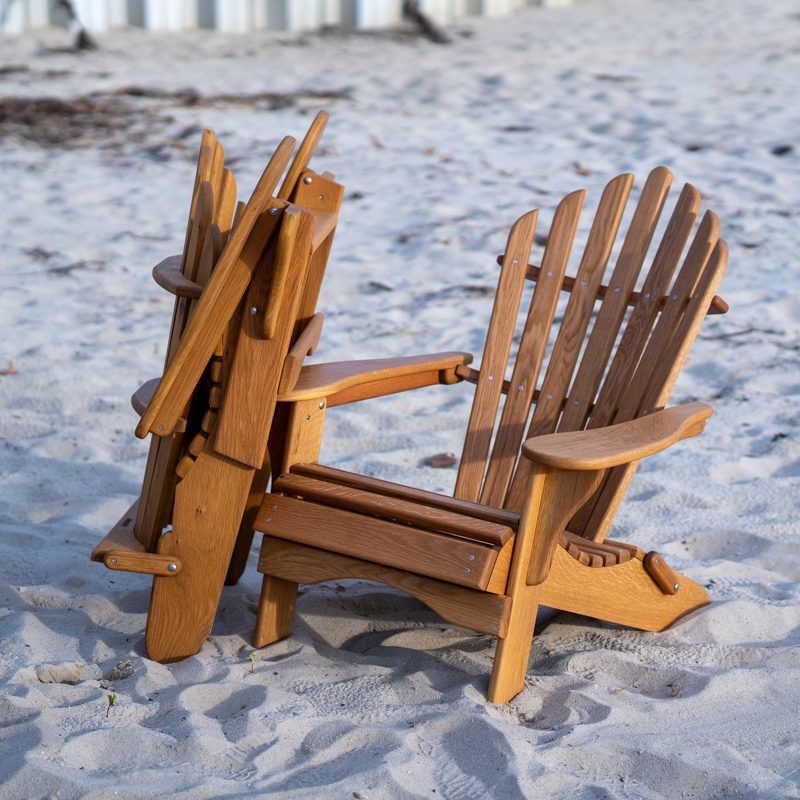
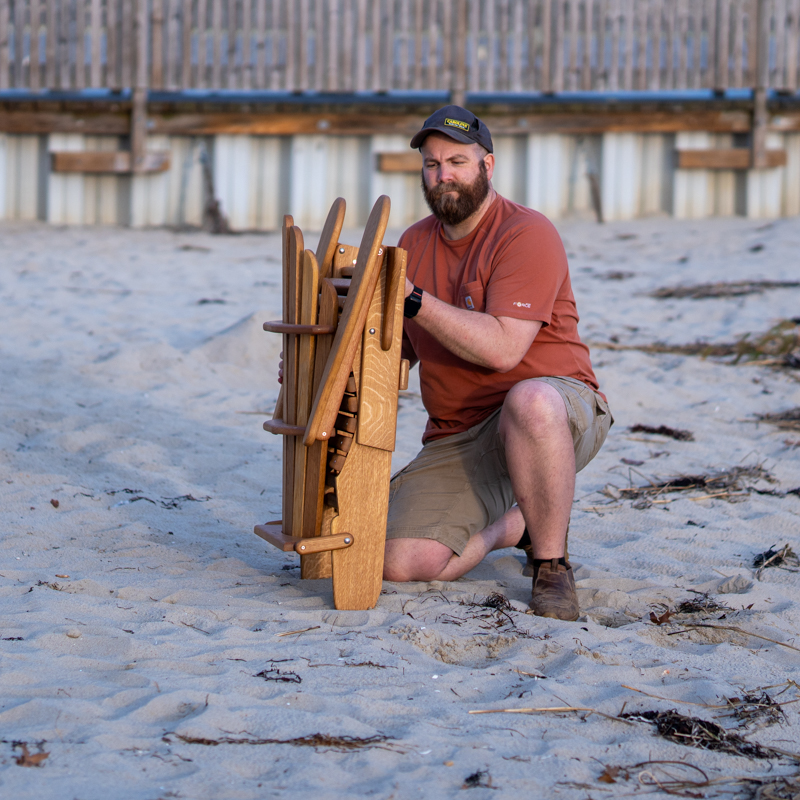
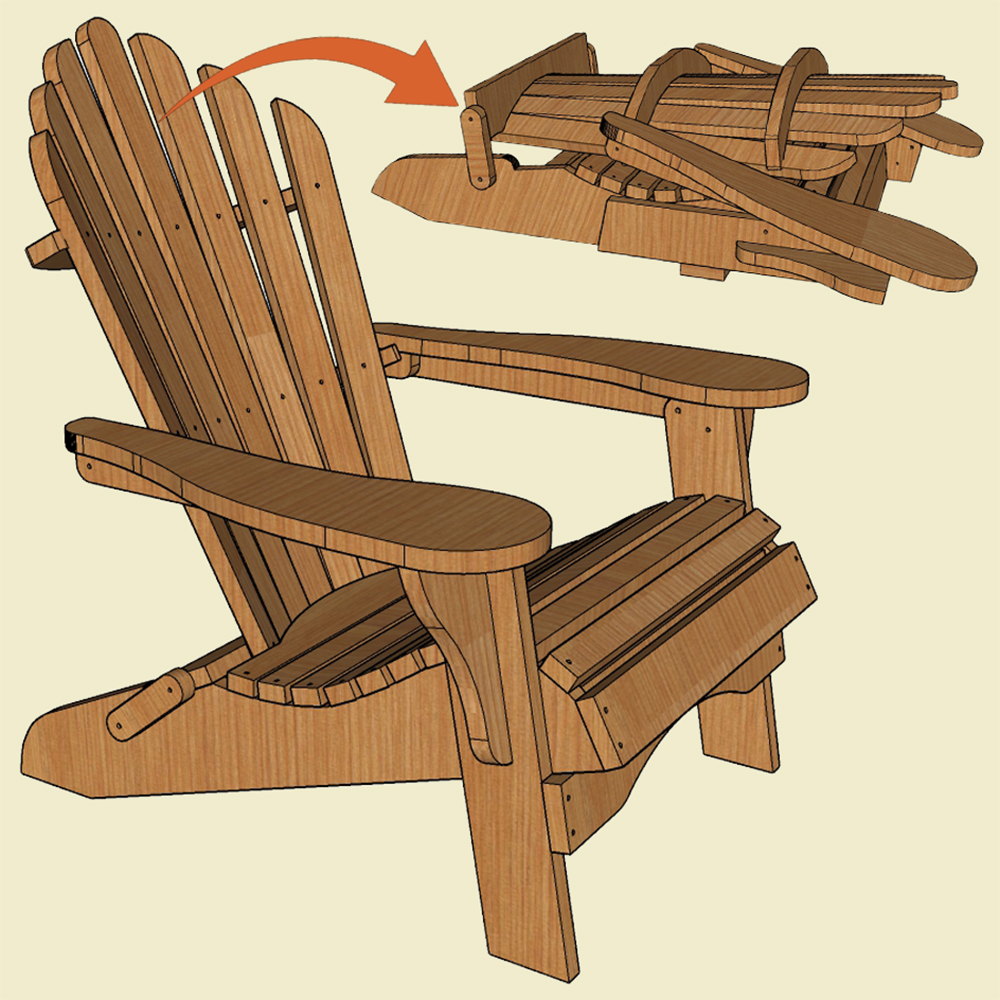
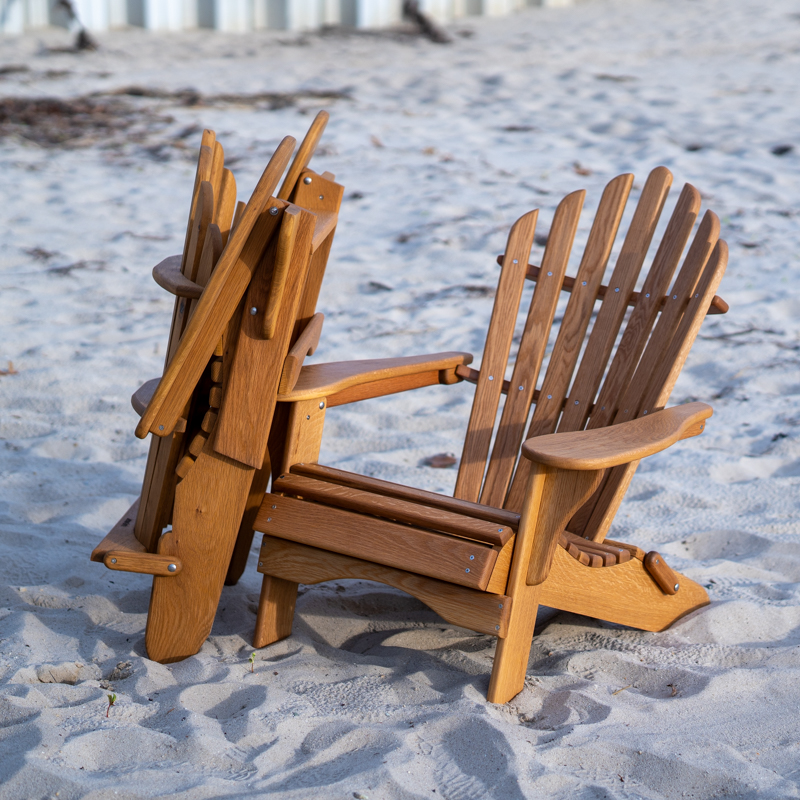
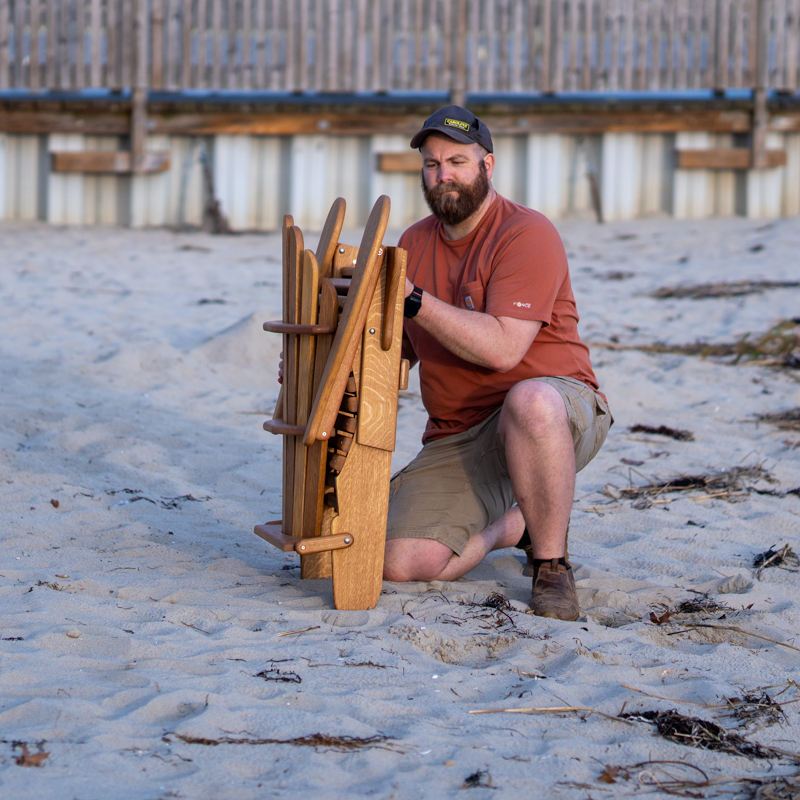
The most comfortable Adirondack chair you will ever find… now foldable for easy storage! This is my classic adirondack chair design, redesigned from the ground up to make it fold to a surprisingly compact size, while still retaining the curved back and seat that you know and love, making it hard to believe you’re sitting in a wooden chair.
I offer templates along with the digital plans to make the build even easier, just trace and cut! Options are outlined below, all options come with a full set of digital plans. Digital plans are extensive and include 17 pages with a materials and hardware list, full parts list with dimensioned and color coded parts, 3d renderings of each part of the build process, full assembly instructions, and link to build videos and build articles.
Final dimensions of the chair are 3’1″ tall, 2’9-1/2″ wide, and 3′ deep and when folded it’s 3’6″ tall, 2’9-1/2″ wide, and 1’1″ deep.
FAQs
How many pieces are the same as the regular chair and do you offer “upgrade kits” for the templates?
Unfortunately, I had to almost completely redesign the chair from the ground up to get the folding feature to work, so I don’t have an “upgrade kit”, or whatever you might call it. There is a bit of overlap though: FB is the same as B (but without holes). FD/FE/FF are the same as D/E/F and DG is the same as G (but with 1 extra hole). FK and FL are similar to K and L (but shorter). DM is the same as M. Also, for anyone who wants to convert their regular chair to a folding chair, I won’t say it’s impossible, but it would be a lot of work and extra pieces to pull that off.
What type of wood do you recommend?
You’ll want to choose a species that is appropriate for outdoor use, and is readily available, which will depend on your location. Western red cedar is often the go-to and I’ve built many chairs from that in the past, but it is quite expensive now, especially the clear grade (CVG). I made the chairs shown in these plans from white oak which I think looks great and it’s great outdoors, but it’s heavy (avoid red oak which has open pours and won’t last). Redwood, teak, mahogany, and cypress are all great options, and even pine isn’t a bad choice and will last longer than most hardwoods (especially when painted).
What size lumber do I need to buy?
For thickness, the plans are designed to work with 7/8″ thick lumber, which you can usually get out of rough sawn 4/4 boards (when you pick your boards from the pile there’s typically a little variation so I always grab the slightly thicker ones). Anything between 3/4″ and 1″ thick will work however, the design is very forgiving. If you decide to go as thin as 3/4″, just make sure to avoid any knots, especially on the seat and back slats where they are most likely to crack.
For width, the widest pieces are the arms which are 7″ wide so you’ll want a minimum of 7.5″ rough sawn board (a 1×8 when milled down is 7-1/4″ wide). Always go wider if you can as this will typically lead to a more efficient layout of your parts. The chair you see me building in the plans was made from random width lumber which was 3-8″ wide.
For length, I recommend the longest boards that you are able to carry, because just like the width, your layout will be more efficient with less waste. I typically work with 13-16′ pieces, but you can definitely build the chairs from 8′ lumber if that is all you can transport or find.
For quantity, you’ll need roughly 30 linear feet of 4/4×8, or equivalent volume of random width boards, but if you pick something with more imperfection, or you don’t feel as confident about your nesting abilities, add 10% or so for an extra waste factor (10% waste is already figured into my numbers).
I don’t have a large format printer, how do I print your plans?
The easiest option is to purchase my printed paper templates, or even better are my ready made MDF templates, so you don’t have to make any templates at all. If you’ve changed your mind after buying the digital plans and want to get the paper or MDF templates, just order those and then send me an email and I’ll refund you the difference.
Your digital plan purchase includes a full scale PDF template that you can print out if you have access to a 24″ wide plotter (places like Staples, UPS, Kinkos, Wallgreens, etc, often do large format printing like this). Your plans also include the same template broken down into a typical 8.5×11 paper size (or A4 for those who use metric paper sizing) that you print on a normal printer and tape together.
I printed out the 8.5×11 template and taped it together, but the dimensions are wrong, what’s going on?
When you print out the template make sure that page scaling is set to “none”. Typically it defaults to “Fit to Paper” which would shrink it down and create a discrepancy in the dimensions. Always double check the dimensions of your templates before cutting out any of your parts.